Adobe CC for Windows

Named User License Info
Current Employees are licensed under the Named User Licensing. The Named User Licensing ties the usage of Adobe apps and services to an individual user. Computers must connect to Adobe servers for initial activation, and then at least once every 99 days. End users can sign in with their credentials to access the apps and services.
Keep in mind that you must reach out to the IT Support HelpDesk an put in a request to update or install a shared device license on a lab, classroom, or shared computer.
Installation Steps:
1. You must have the Adobe Creative Cloud app installed on your computer to begin. You can download the app by visiting Adobe’s installation site. If you already have this installed you can skip to the next step.
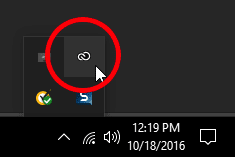
2. Open the Adobe Creative Cloud App by clicking on the app menu in the system tray next to your time and selecting the Adobe Creative Cloud app. You can also open your Start Menu and type in Adobe to find the Adobe Creative Cloud application.
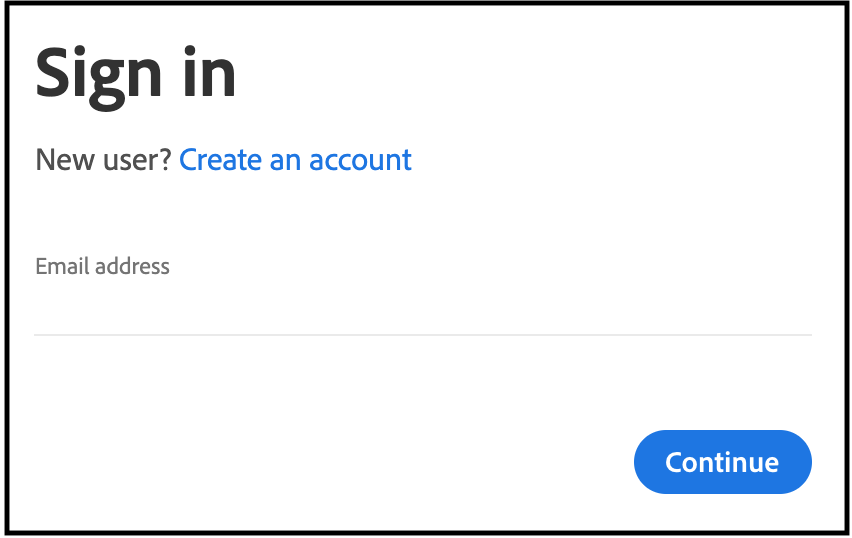
3. Once open, enter your TCU email address.
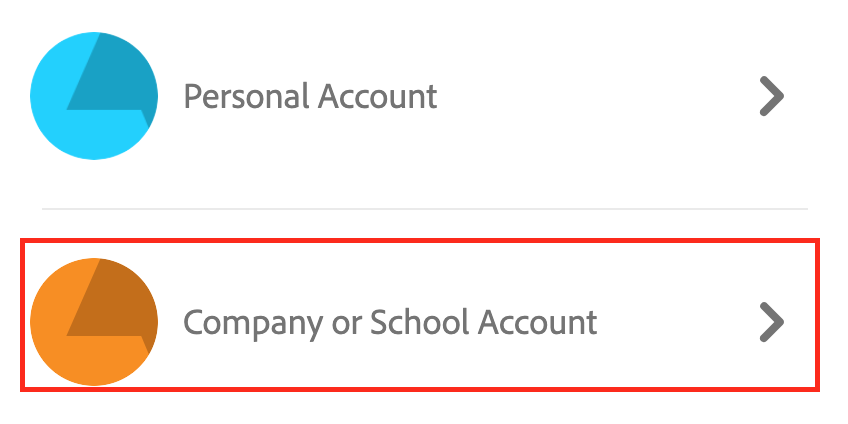
4. Select Company or School Account (if prompted)
5. Enter your TCU username and password.

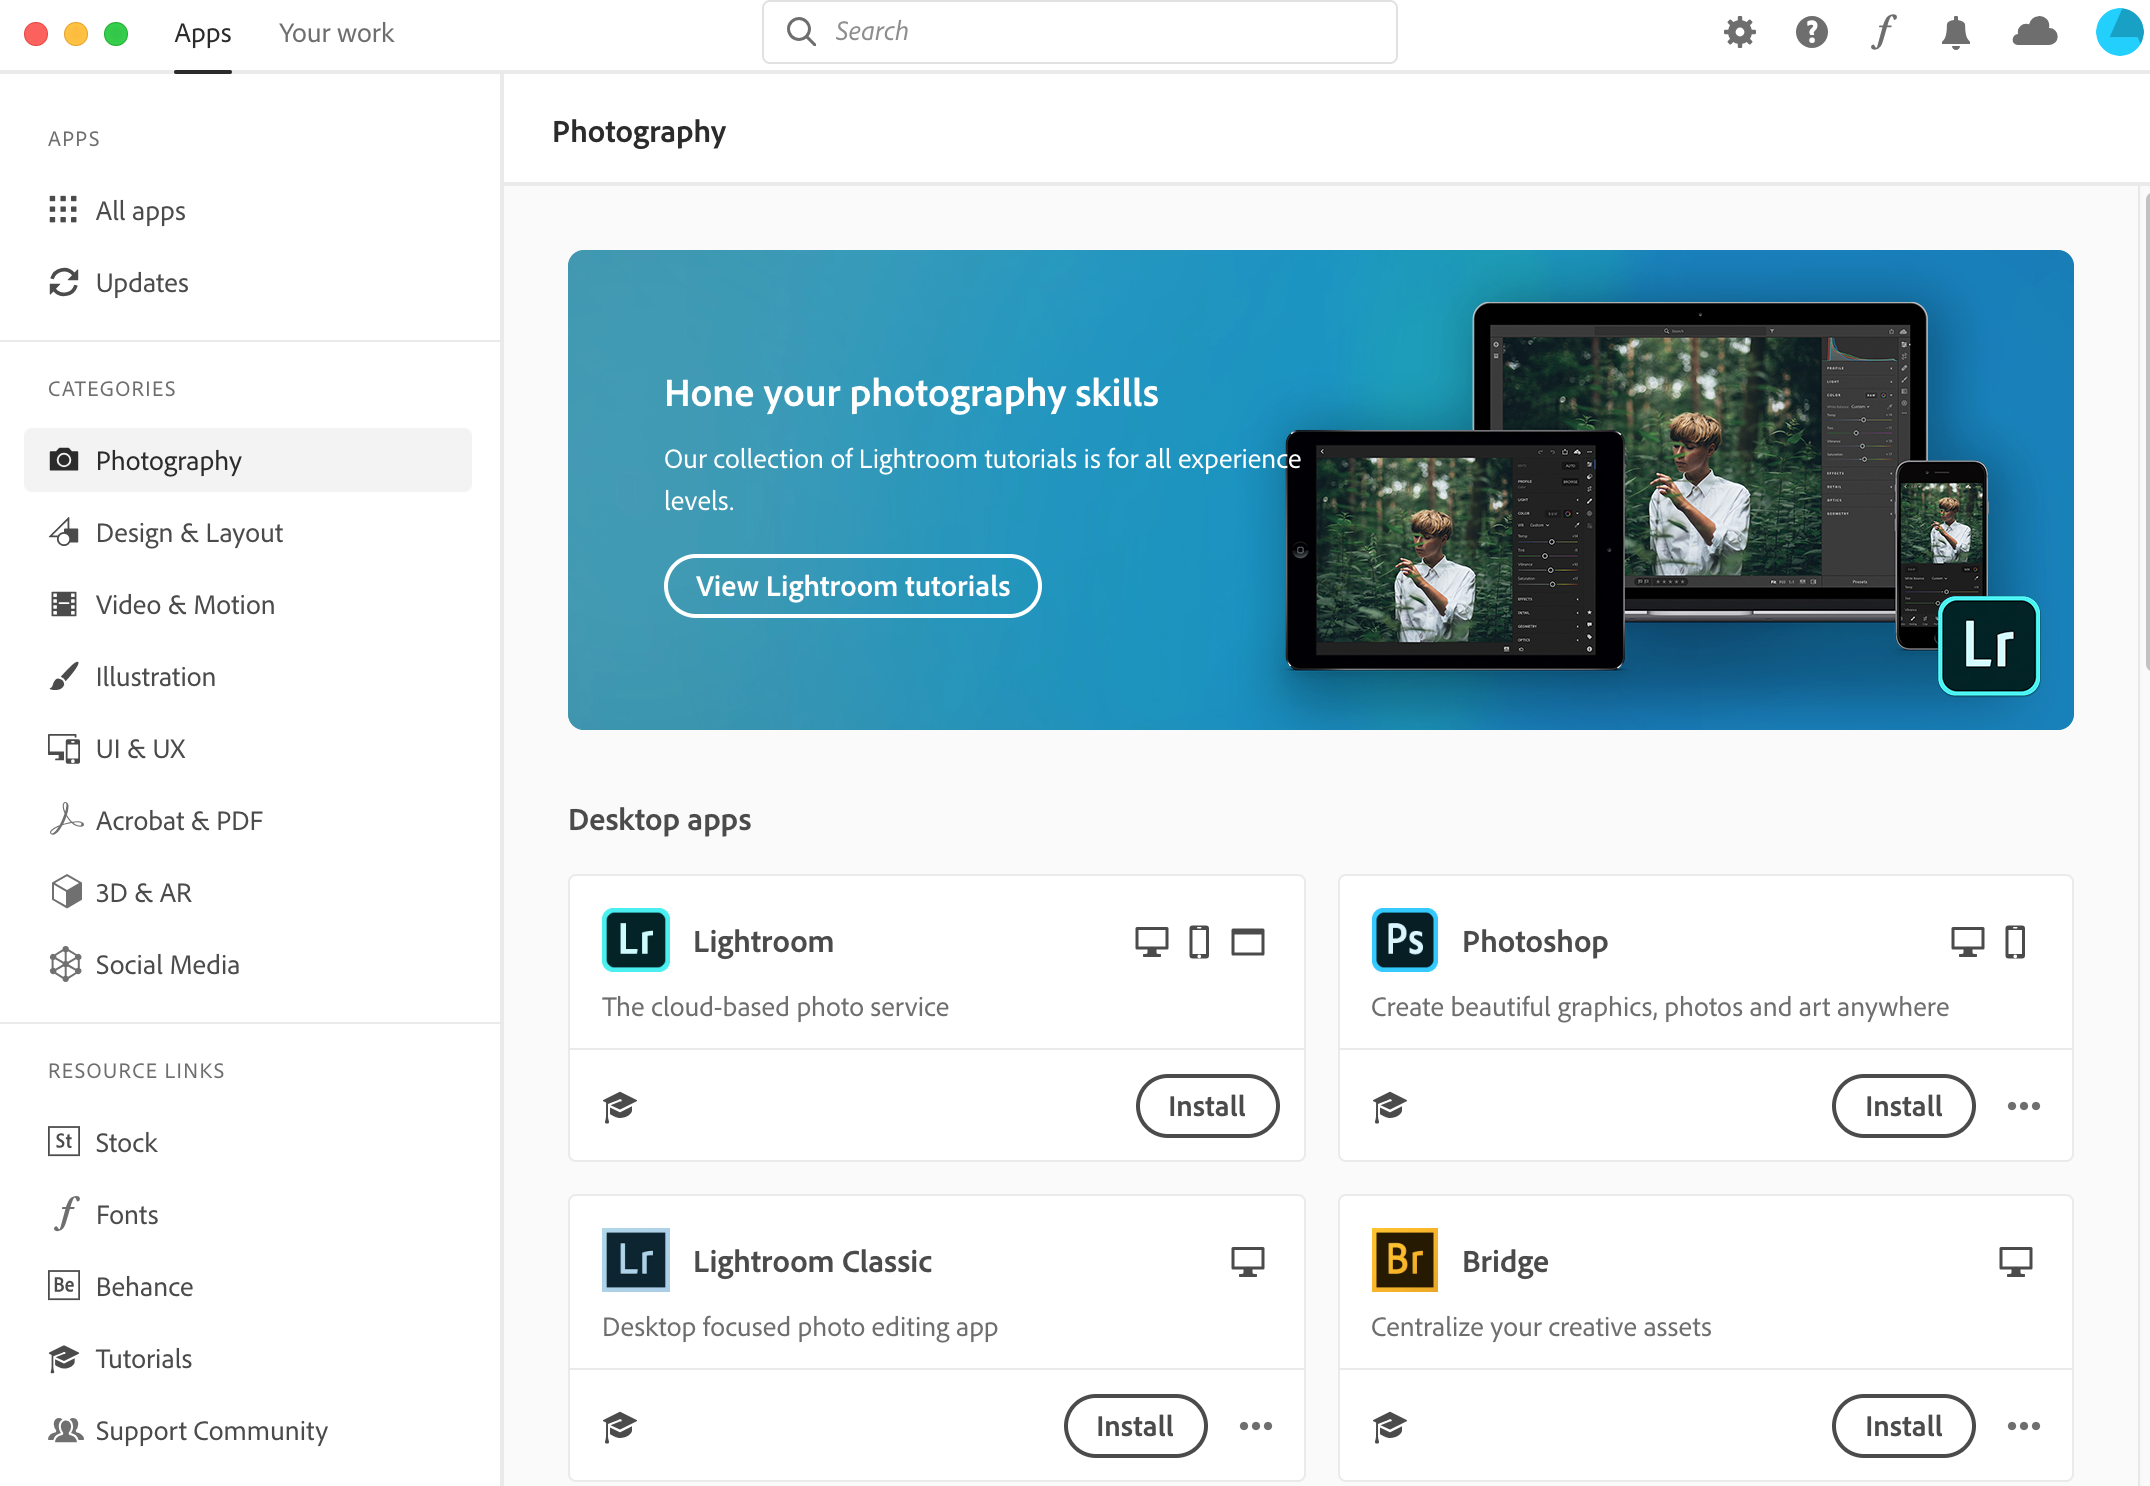
6. Once open, click on the apps tab at the top of the window to browse the applications that you can install. Click the install button and wait for the application to download to your computer.
7. To log out of Adobe Creative Cloud, click the blue circle in the top right-hand corner and click log out.
Software Requirements
Requirements for Adobe Creative Cloud: http://www.adobe.com/products/creativecloud/tech-specs.html
Get Online Training
Keep in mind that support for Adobe products is limited and learning to use the products requires that you invest time in training/research. Employees will be expected to learn how to utilize the products themselves.
Check out the following Adobe tutorials for additional assistance: